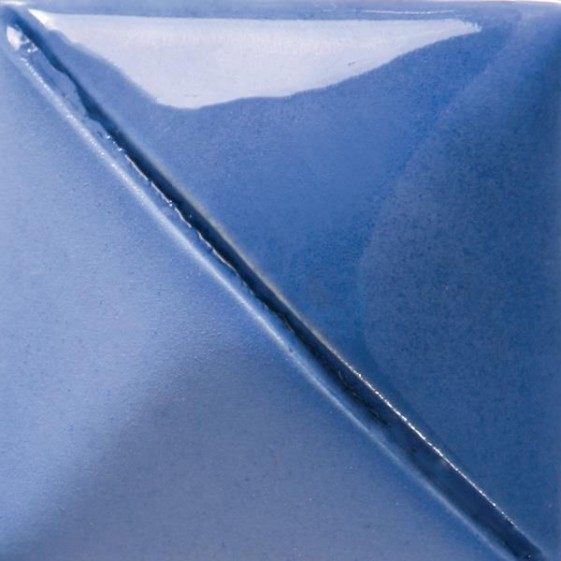
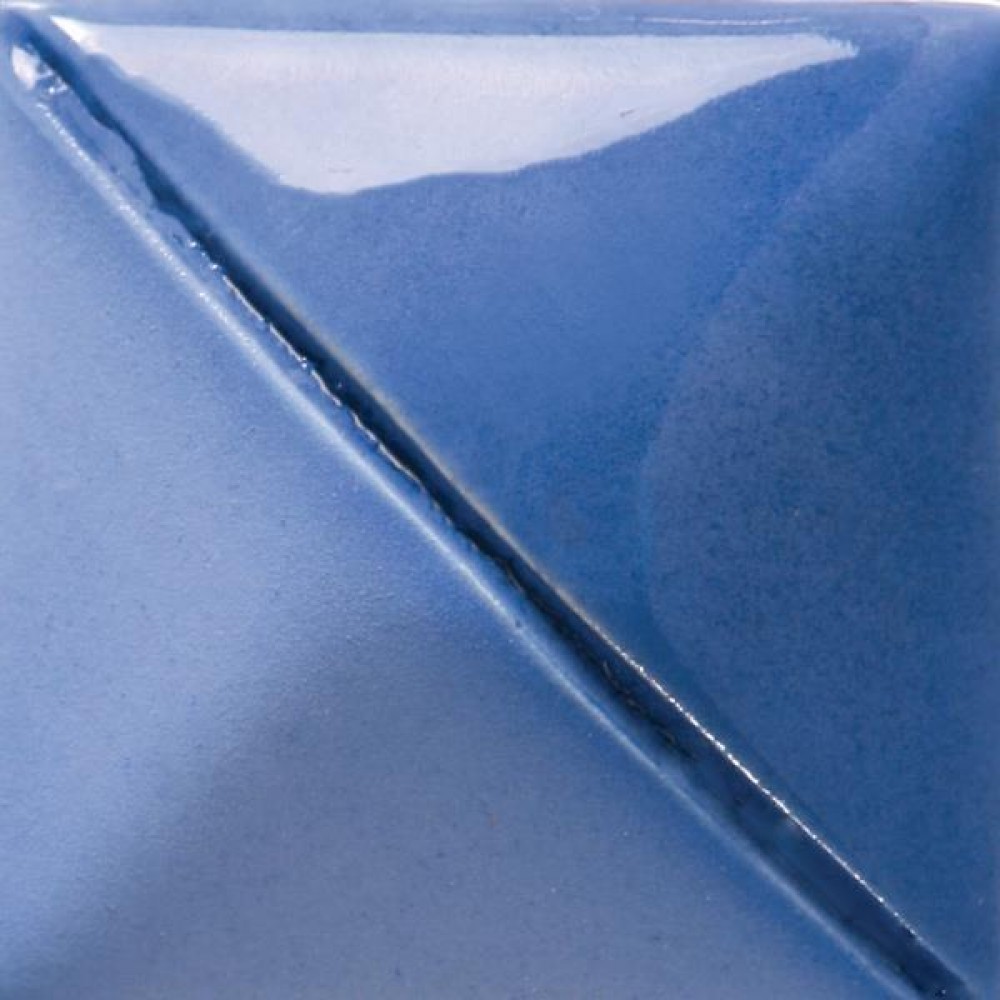
Bright Blue - 2 oz. Fundamentals Underglaze by Mayco Colors
- Brand: Mayco Colors
- Product Code: UG097-2 oz.
- Availability: In Stock
Description
UG-097 - Bright Blue (2 ounce) Underglaze by Mayco Colors
Cone 06: Bright Blue will fire matte without addition of a clear glaze. To intensify color or for use on dinnerware, apply clear or matte clear glaze.
Cone 6: Color concentration occurs. Recommended clear glaze is SW-001 Stoneware Clear.
Classic & Timeless
Underglazes was the first product line our company produced in 1954 and continue to be a staple for many ceramic artists. Mayco Underglazes are highly versatile â use for complete coverage or in design, apply to clay or bisque, fires from cone 04 to cone 10. Whether used by a student making his first pinchpot or by a fine artist making gallery quality work, Mayco Underglazes will stand the tests of time and demand in performance.
General Use
Apply to green-ware or shelf cone 04 bisque. For best results, apply color in a flowing motion, keeping brush adequately loaded with glaze. Allow first coat to dry. Apply second coat at a right angle to first coat. If desired, apply third coat at right angle to second coat. If applied to green-ware, fire to shelf cone 04. If desired, apply clear glaze and re-fire to shelf cone 06/05. If applied to bisque, clear glaze can be applied directly to the unfired Underglaze and then fired to shelf cone 06/05.
Application Recommendations
The following application recommendations are based upon the original product development intent and use for the product. Information on alternative application methods is listed in the section "Usage Variations and FAQ's".
- Underglazes can be used directly from the jar, but should be put out onto a tile to avoid possible contamination of the remaining product in the jar. Make sure the consistency is like melted ice cream.
- Apply to greenware, clay or bisque. Lightly dampening the ware with a moistened sponge before painting allows better adhesion to the ware.
- Dip a dampened, blotted brush into the color. Fully load the brush without dragging the brush on the side of the tile. Apply the color in a flowing motion; if it starts to drag, reload the brush. The clay will absorb the moisture from the color, so care has to be used when applying.
- As you flow the color on, avoid ridges and runs. Brush these flaws out as you apply the color. On an embossed piece do not allow excess color to build up. Brush the excess out of the crevices as you apply the underglaze.
- Apply the first coat. When the dark wet look has disappeared, apply the second coat at a right angle to the first. The third is then applied at a right angle to the second coat. This will assure better coverage.
- Underglazes can also be applied by sponging and spattering.
- Generally a clear glaze finish is applied after to bring out the true color and vividness of the product.
- If applying to greenware or clay, fire first to cone 04 then apply a transparent glaze and fire to cone 06. If applying to bisque allow the Underglazes to dry and apply clear glaze and fire to cone 06/05
- Opaque Underglazes are not true color out of the jar. Firing is required to mature their color.
- Colors can be intermixed for custom colors. Underglazes can be fired to higher temperatures.
Usage Variations and FAQs
Q. What is meant by "polishing" an Underglaze?
A. While opaque underglazes can be applied to ware in many ways from brushing to sponging, there is an interesting technique that has survived the tests of time. One of the most striking looks can be achieved by polishing the surface of the color to produce a soft sheen, and then leaving it unglazed. The finished surface resembles earthenware. This technique cannot be obtained by any other method and is unique to opaque underglazes. The beautiful surface is achieved by buffing the opaque underglaze while it is still damp. While the surface is somewhat sealed, it will not be waterproof. This technique is only used on decorative items and is not suitable for surfaces that come into contact with food or drink. This technique creates a great background for spot glazing using a gloss or matte glaze. A smooth surfaced piece works best for polishing Underglazes rather than an embossed piece. Care must be taken to avoid removing the color from sharp angles and rims. It is easy to scratch the ware accidentally with your fingernails, etc. Be careful when applying the color as any ridges or buildup of color will affect the end result. Use a silk sponge to apply the color to eliminate some of these problems and to give a different look. Some colors polish better than others do. Apply three coats of underglaze with a brush, in the usual manner, to assure all over coverage. Apply the colors very evenly and smoothly. Do not allow prolonged drying time between the coats. Thin the same color with water in equal proportions, mix well. Using a ball of soft facial tissue or soft T-shirt material, apply the thinned mixture to a small area about the size of the palm of your hand. When the shiny wet look disappears and the color will not stick to the pad, polish that area briskly. The pressure should be light and the movement fast. It is the friction from the polishing that develops the sheen. Continue to apply the diluted color mixture to a small area at a time, each one slightly overlapping the previous one, until the entire piece has been polished. Now buff the entire surface again, without wetting, until a high sheen has developed. If the color looks blotchy, this will disappear as the piece dries. If you wish to add a design using other opaque Underglazes, be careful not to mar the surface. Use a soft cloth to hold the piece to protect it from body oils and moisture. Wait until the piece has thoroughly dried before tracing the design so the pressure of the transferring does not mar the surface.


