Ceramic Bisque Clay Canvas Tile
$14.95
Everyday Low Price
- Brand: Mayco Bisque By the Each
- Product Code: MB1353-E
- Availability: In Stock
Description
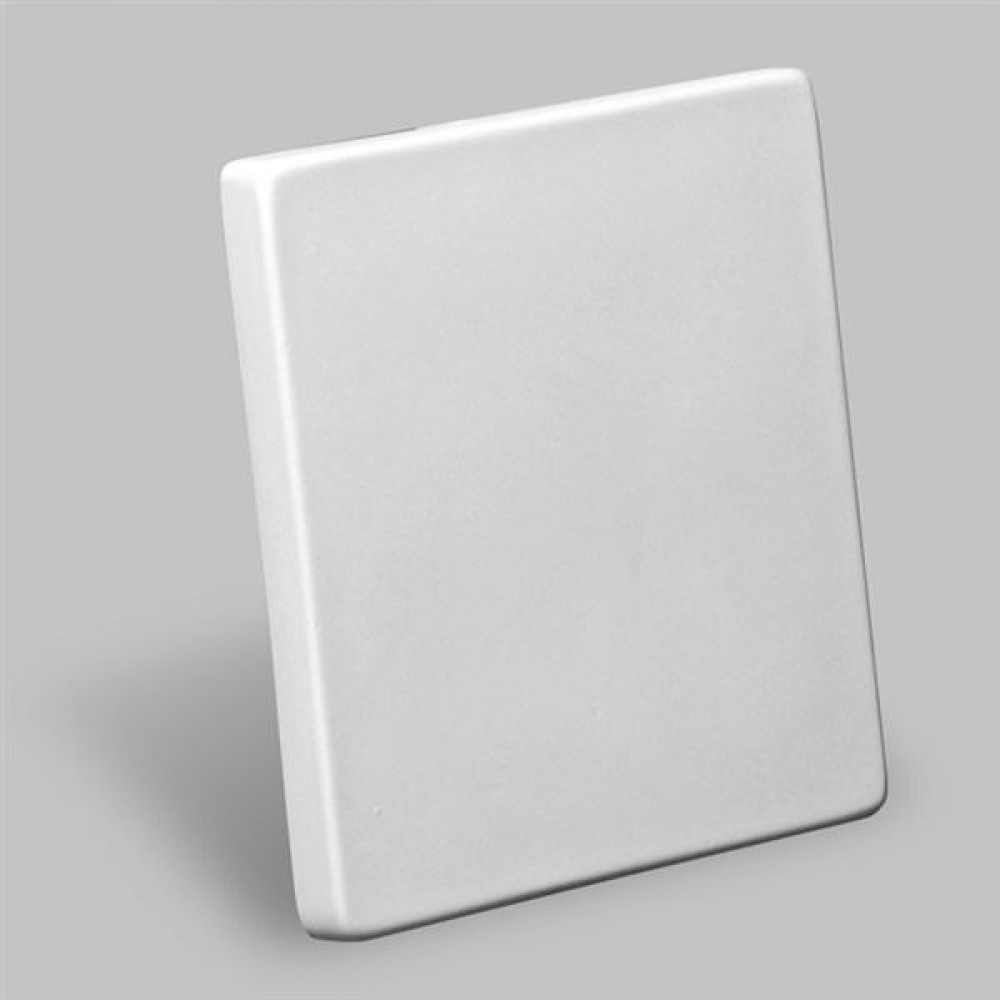
MB1353 Clay Canvas Tile in Ceramic Cone 04 Bisque By Mayco Bisque
All of our bisque is fired to a cone 04 and is ready to paint.
8 H x 10 W
This item is unpainted.
You are purchasing an unfinished, Ready to Paint, Piece of Ceramic Pottery
Products Used
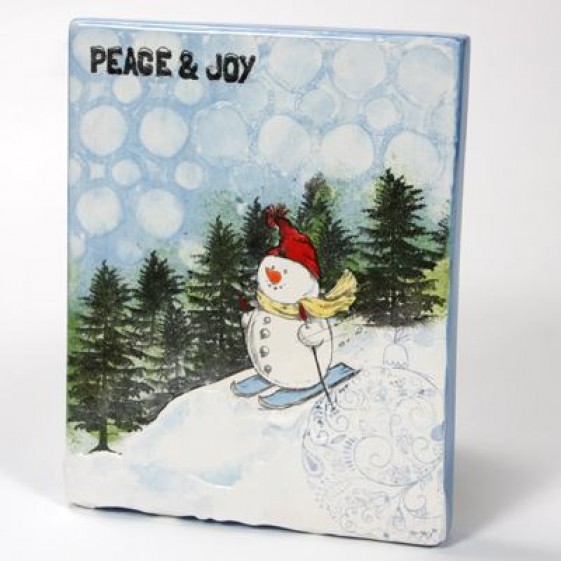
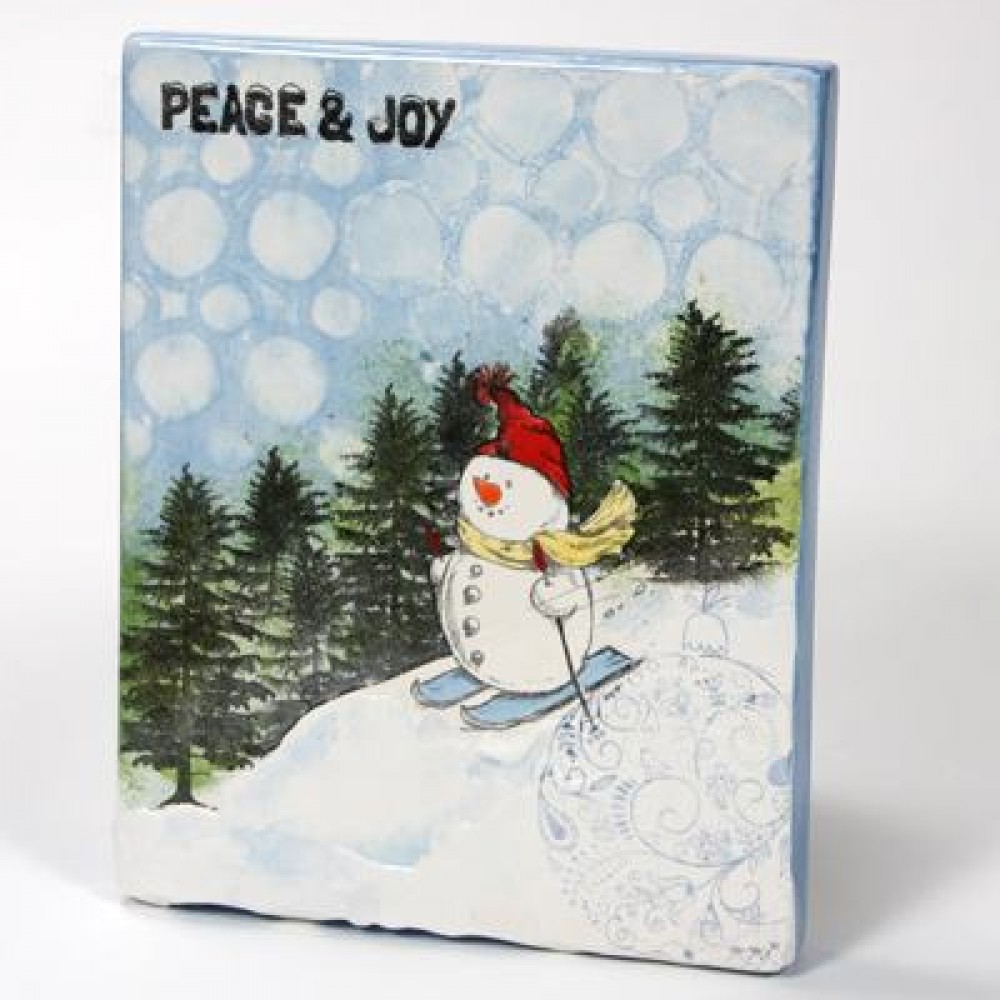
Bisque- MB-1353 8" x 10" Clay Canvas
Color- FN-001 White
- SC-15 Tuxedo
- SC-26 Green Thumb
- SC-31 The Blues
- SC-30 Blue Dawn
- SC-24 Dandelion
- SC-74 Hot Tamale
- SC-75 Orange A Peel
- SG-302 Snowfall
- SG-404 Blue
- AC-310 Silkscreen Medium
- SC-16 Cotton Tail
Decorating Accessories
- DSS-106 Winter/Holiday
- DSS-107 Season's Greetings
- DSS-110 Botanical - Trees
- CB-604 Soft Fan
- CB-106 Script Liner
- AC-211 Lg. Sponge on a Stick
Additional Materials
- Pencil
- Sponge
- Palette Knife
- Stencil by Plaid (30622 Pebble Background)
- 2" Foam Roller
- Pattern: Pattern for Technique
Instructions
- Begin with properly fired shelf cone 04 bisque. Moisten a clean sponge and wipe bisque to remove any dust.
- With CB-604 Soft Fan, brush on FN-001 White to the top of the bisque. Apply 2 coats.
- Cut out the snowman pattern and position it on the canvas. Draw a pencil line for the snowbank, then cut a paper pattern to mimic the slope and snow.
- Wet the canvas lightly with water, place snowman and snowbank paper patterns, as shown, to bisque.
- Use a 2" foam roller to roll on SC-30 Blue Dawn to the exposed bisque. Roll on 3 coats.
- Roll on SC-31 The Blues to the top half of the bisque. Roll on 2 coats.
- Size the Evergreen tree from DSS-110 Botanical - Trees. Lightly pencil a guide where the top of the row of trees will align.
- Use AC-211 Large Sponge on a Stick to lightly sponge SC-26 Green Thumb to the tree area, while leaving some blue visable. Apply 1 coat.
- Lightly brush remaining blue (sky) area with water. Place the Plaid 30622 Pebble Background stencil on the blue area of bisque.
- Using the AC-211 Large Sponge on a Stick, lightly sponge on SC-16 Cotton Tail. Apply 2 coats.
- Realign the stencil and repeat process from above to finish the sky area.
- To the consistency of peanut butter, thicken SC-15 Tuxedo with AC-310 Silkscreen Medium using a palette knife.
- With the paper patterns still in place, align the evergreen tree screen (from DSS-110 Botnaical - Trees) to the top of the pencil line guide from Step 7. With a rib or your finger, rub the thickened color over the grain side of the screen.
- Tip: Screen some of the trees with various heights to add depth. You can continue to use the screen several times before cleaning, as long as the prints remain true.
- Screen the words Peace and Joy (from DSS-107 Season's Greetings) with thickened SC-15 Tuxedo near the top left corner.
- Clean all screens by wiping off or laying in water.
- Remove the paper patterns. Using the Skiing Snowman from DSS-106 Winter Holiday, screen image with the thickened SC-15 Tuxedo.
- With a palette knife, apply SG-302 Snowfall to the snow bank, flipping it up around the skis. Allow some to drip over the edges of the bisque.
- Brush SC-74 Hot Tamale to the hat, SC-24 Dandelion to the scarf, SC-30 Blue Dawn to the skis, and SC-75 Orange A Peel to the nose.
- With CB-106 Script Liner, re-outline the hat with SC-15 Tuxedo.
- When the SG-302 Snowfall painted area is dry, thicken SG-404 Blue with AC-310 Silkscreen Medium to the consistency of peanut butter. Screen the ornament ball from DSS-107 Season's Greetings over the snowfall in the bottom right corner of the bisque.
- Delicately brush SC-30 Blue Dawn into the ridges and dents of the snowfall to add depth and shadows.
- With CB-604 Soft Fan, brush SC-30 Blue Dawn to all sides of the bisque. Apply 3 coats. *Be sure to avoid the SG-302 Snowfall painted areas.
- Fire to cone 05/06.
- Tip: Screen some of the trees with various heights to add depth. You can continue to use the screen several times before cleaning, as long as the prints remain true.


